A Dungeon with a View
After I have proven I can put something from a tilesets on screen lets take it up a notch. Using the dungeon tileset I created earlier I want to fill the 3d view with a preset view. So let’s take what we have accomplished with the portraits and see what can be done with it.
Importing the file
As with the portraits I start with importing the data at a specified address. Here the Kick Assembler memory viewer comes in handy. It gives you a quick overview how much of the available memory you are allready using. You can even view the exact adress space and bytesize on mouseover.
Reworking old code
Looking at the code for the portaits routine I can immediately see two candidates that could be refactored into its own methods for general use: !color and !loop_char. So I take them out of the main routine and make them self contained.
I also add some constants that I am going to need for the view routine.
Starting on the new
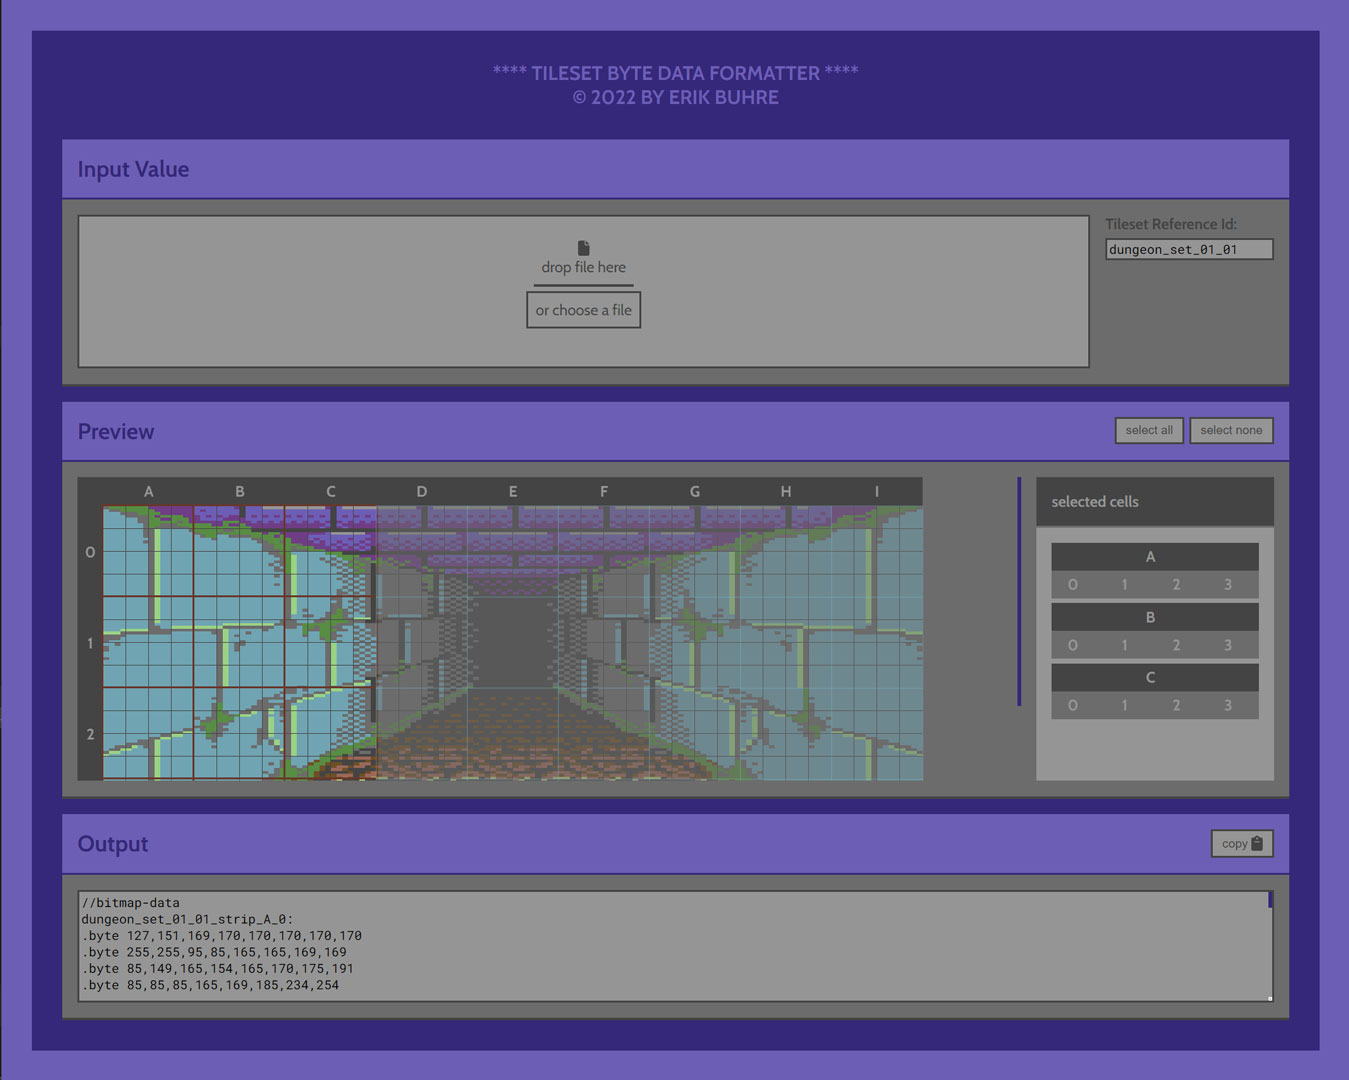
To actually fill the view with the needed tiles I create a reference table for the tile strips and default view.
The view draw routine starts by setting up the zeropage counter for the current strip of the viewport, the current position on that strip, and the char and pixel offsets. The actual loop consists of getting the strip to draw, putting it on screen and then increasing the viewport strip and repeating until the view is filled.
To get the current strip to draw I simply take the current view strip number and use it to get the corresponding strip id from my table and store its address in the zeropage.
Stripping down
Now let’s get to actually drawing the strip. First off I setup/reset all the loop counting variables. Then I enter the first loop to get the current tile number and the screen row and offset to start drawing.
Afterwards I store the tile height in the zeropage and get the current tile address using the tile number stored in a zeropage.
Next I call the routine to get the current character and color addresses. With those datas set I use the previously outsourced set_color and draw_char routines to put it out on screen. But this time only one character at a time as the charset is a little scrambled and I can’t simply rely on them being in proximity to each other.
I repeat that process until the horizontal line of the tile is filled, increase the tile y position, get my new screen addresses, and reset the tile x position until I reach the tile height.


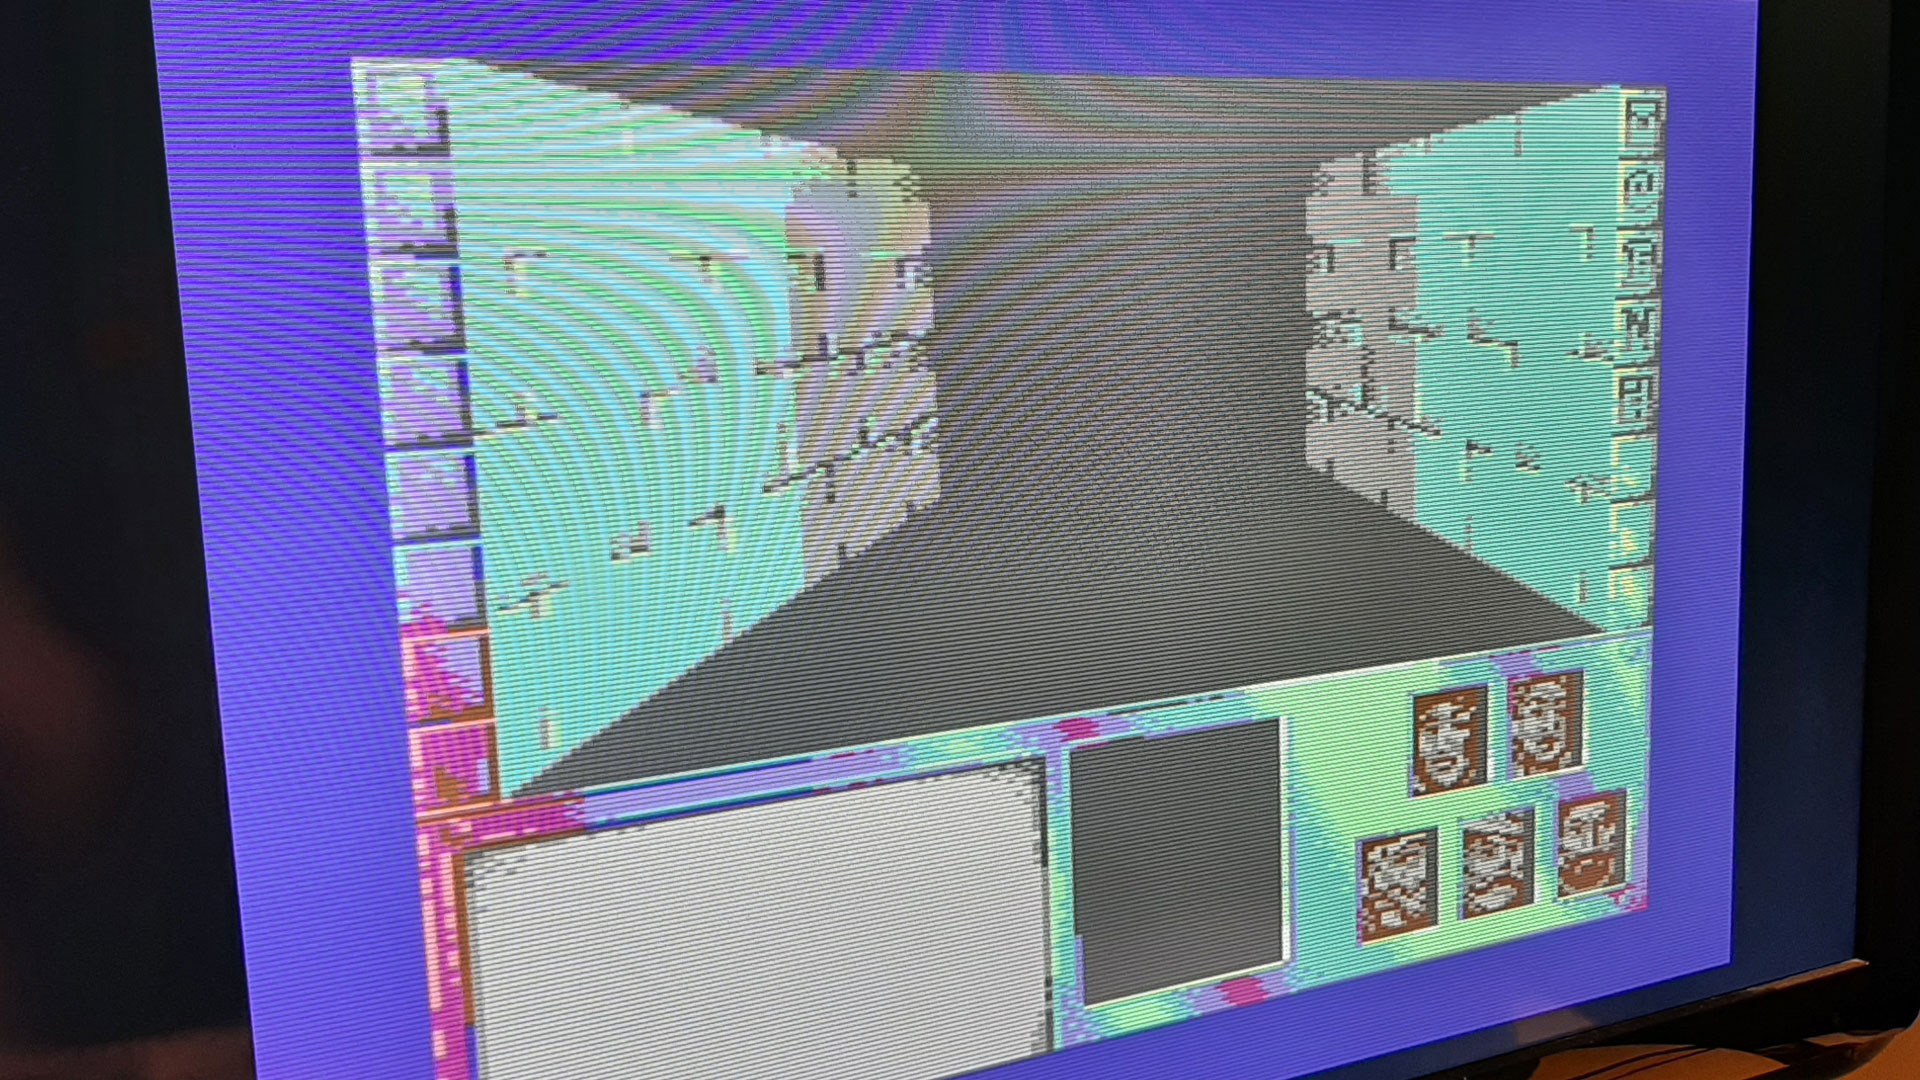
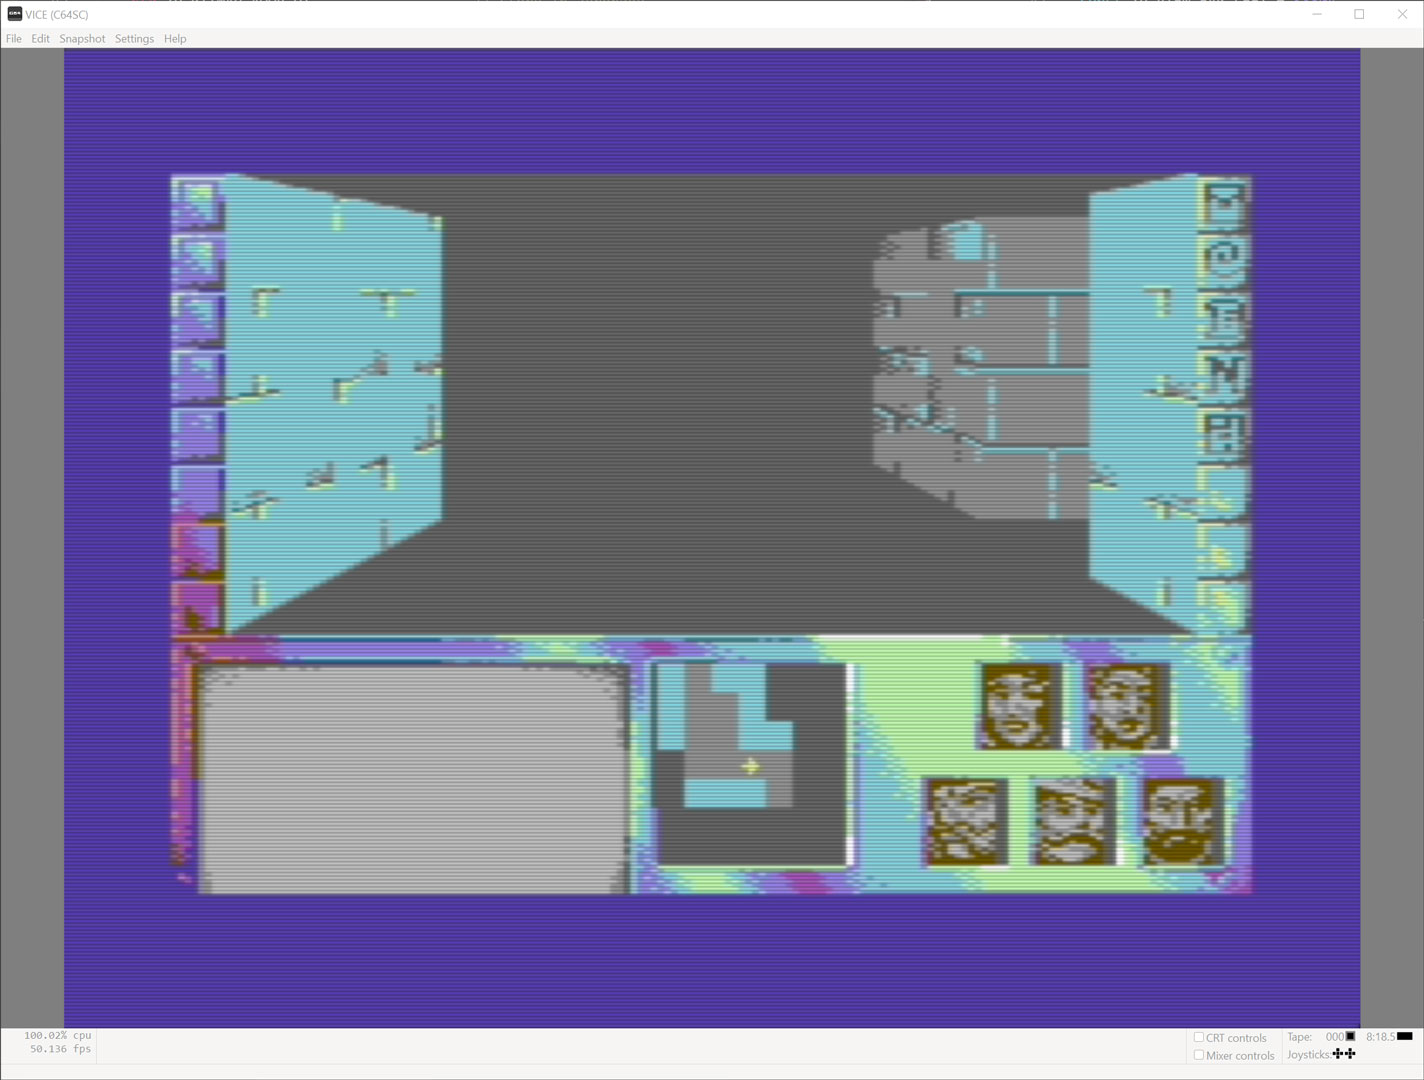
Compiling the code
The compiled code puts out the expected view on screen. But it takes about two seconds to render completly (see video). Sooner or later I will have to refactor the code to be more expedient and use less cycles. One obvious thing for example would be to skip strips that are empty.

The complete code listing.


Leave A Comment